Table of Contents
Setup Tomcat within XAMPP
Modify tomcat-users.xml
- [ D:\xampp\tomcat\conf\tomcat-users.xml ]

  <role rolename="manager-gui"/>
  <user username="root" password="tomcat" roles="manager-gui"/>

<!-- This is the user account for Host Manager link -->
  <role rolename="admin-gui"/>
  <user username="admin" password="tomcat" roles="admin-gui"/>
- The username/password for starting the Tomcat JEE server is root/tomcat
Verify the Tomcat status
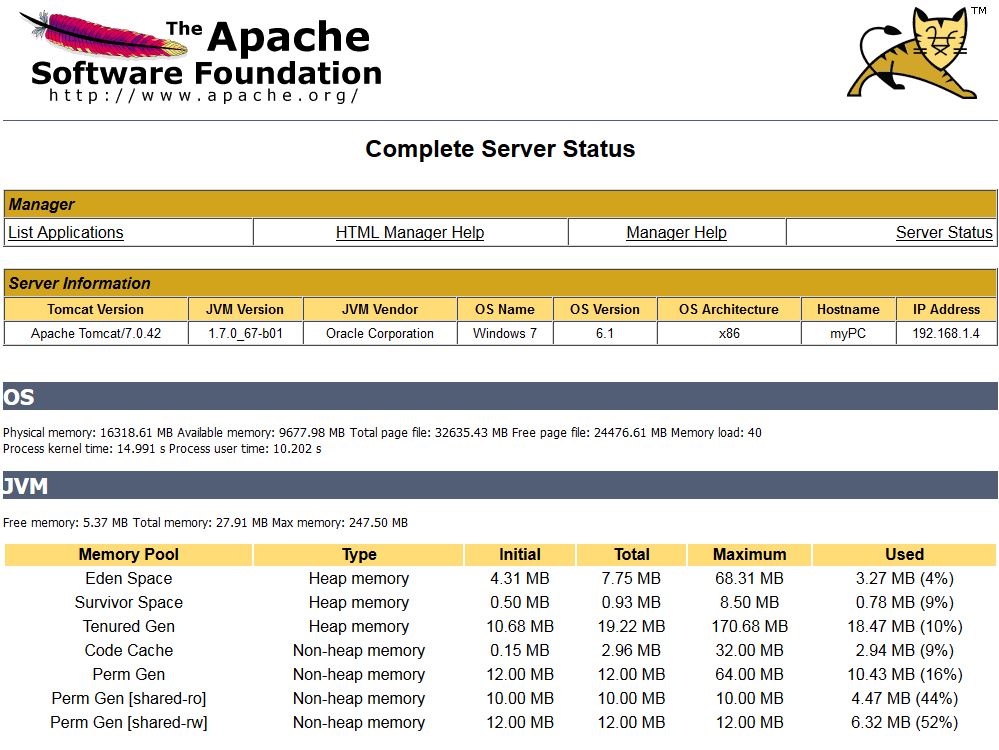
- Connect to your Apache Server [ http://localhost:8080/ ] and press : Server Status
- -> The reported Apache Tomcat version is 7.0.42
Add XAMPP Tomcat Server to our Netbeans IDE
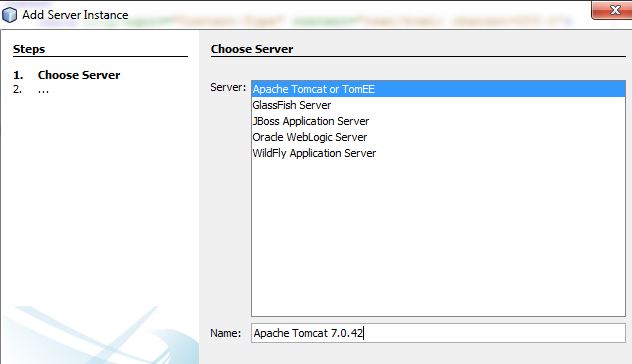
- Goto Services -> Servers -> Right Click Add Server -> Select Apache Tomcat
- Change the Name attribute to the current Tomcat version and press Next
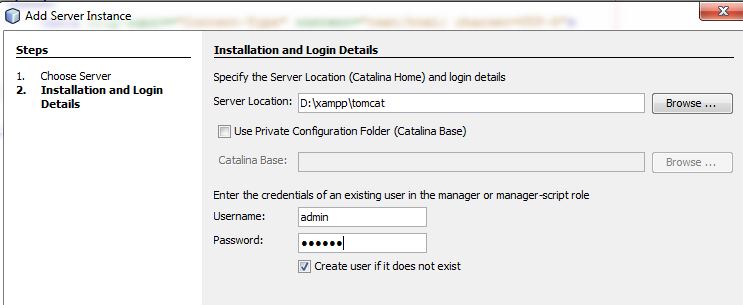
- Fill out the Tomcat Location Details including username password
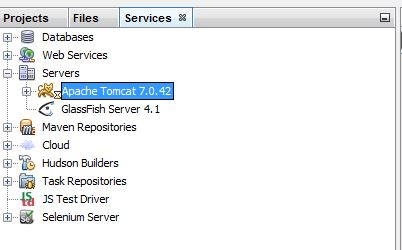
- Now the new Server Entry should be available in the Server panel
- With Right Click on the Apache Tomcat Entry you should be able to start and stop the Tomcat AppServer
Start a Maven Web Application Project and test the TOMCAT Integration
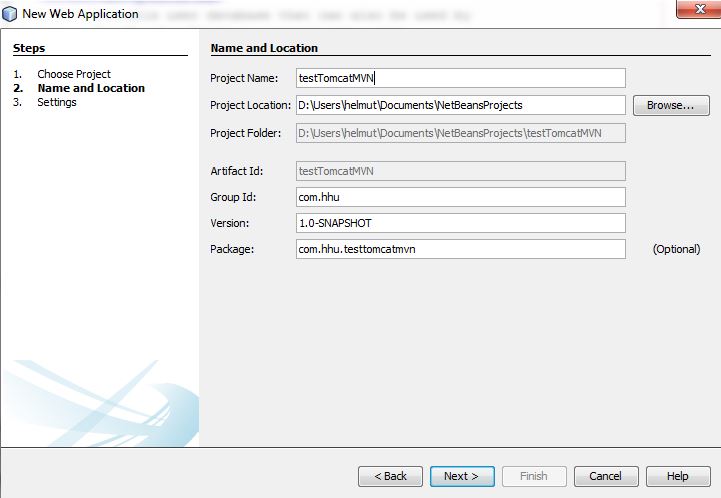
- NetBeans -> Start Project -> Maven -> Web Application -> Project Name : testFunctionsMVN
- Select the Tomcat Server and the JEE Version and Press Finish
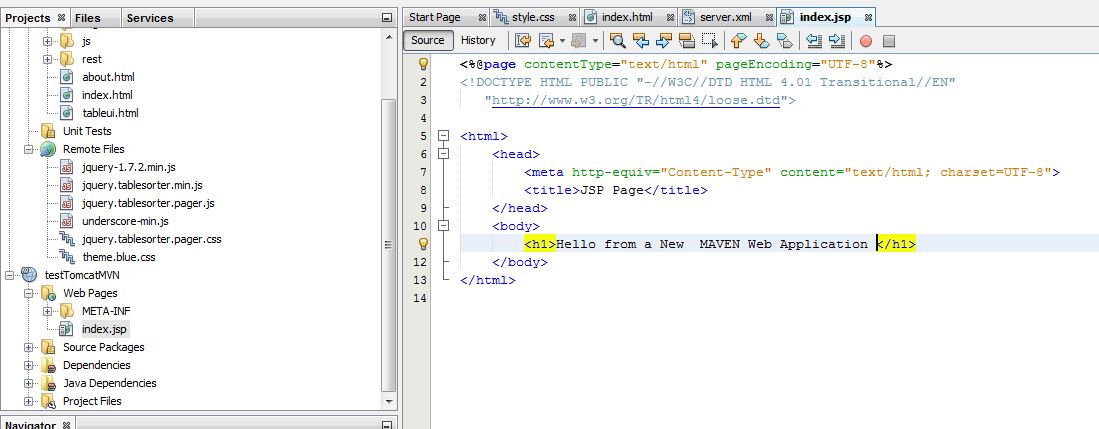
- You may change index.jsp a little bit
- Finally press F6 to run the application
Reference


nice explanation thanx alot.
Did you edit the context.xml, or add a java source file other than the .jsp?
it looks to me that the web browser address would be not correct:
“localhost:8080/testTomcatMVN/”
unless the META-INF\context.xml were changed from:
to:
Please confirm that that is what you did, and update the project posting.